In our last lesson, we started to learn about perspective. If you didn’t complete the lesson, you must do so before moving on to today’s lesson.
.
First of all, have a look at our gallery from last week here.
.
A reminder of the rules of drawing perspective:
All surfaces that face the viewer appear as their true shape. They are drawn using primarily horizontal and vertical lines, as illustrated by the diagram below:
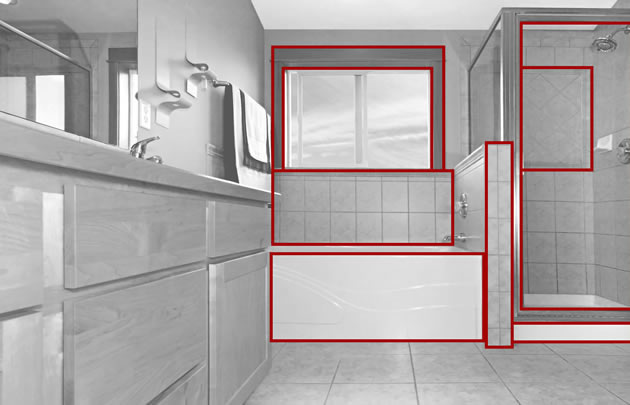
This means that all vertical lines must be parallel to the left and right sides of the paper. All lines that are parallel to the horizon must be parallel to to top and bottom of the paper.
.
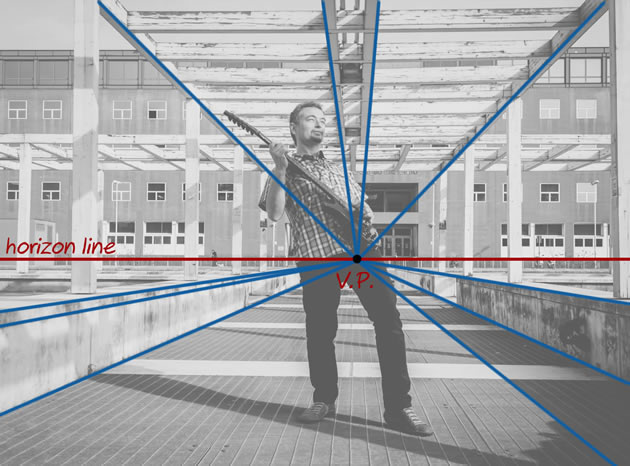
Surfaces that travel away from the viewer, on the other hand, converge towards a single ‘vanishing point‘. This is a point that is located directly in front of the viewer’s eyes, on a ‘horizon line’, as illustrated in the photo below:
.
One problem is that the better you get at drawing perspective, the more tiny errors leap out. Here are 3 excellent drawings. Because they are so good, the errors stand out.
Can you spot the errors in these images?
Hover your mouse over the picture to reveal the answers.
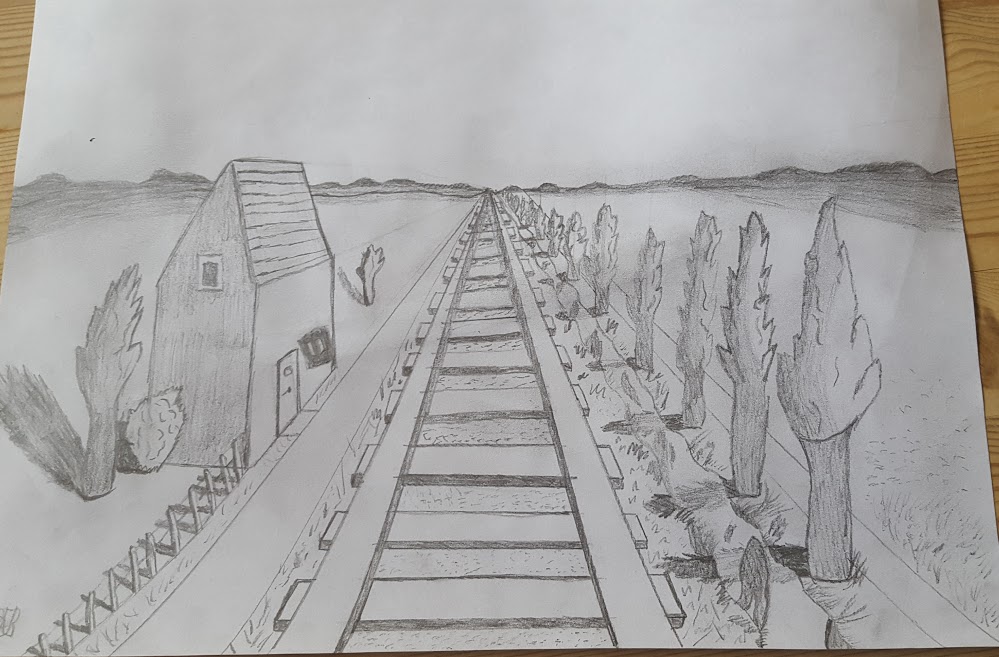
Look at the window on the side of the house. The top and bottom should be drawn using perspective lines.
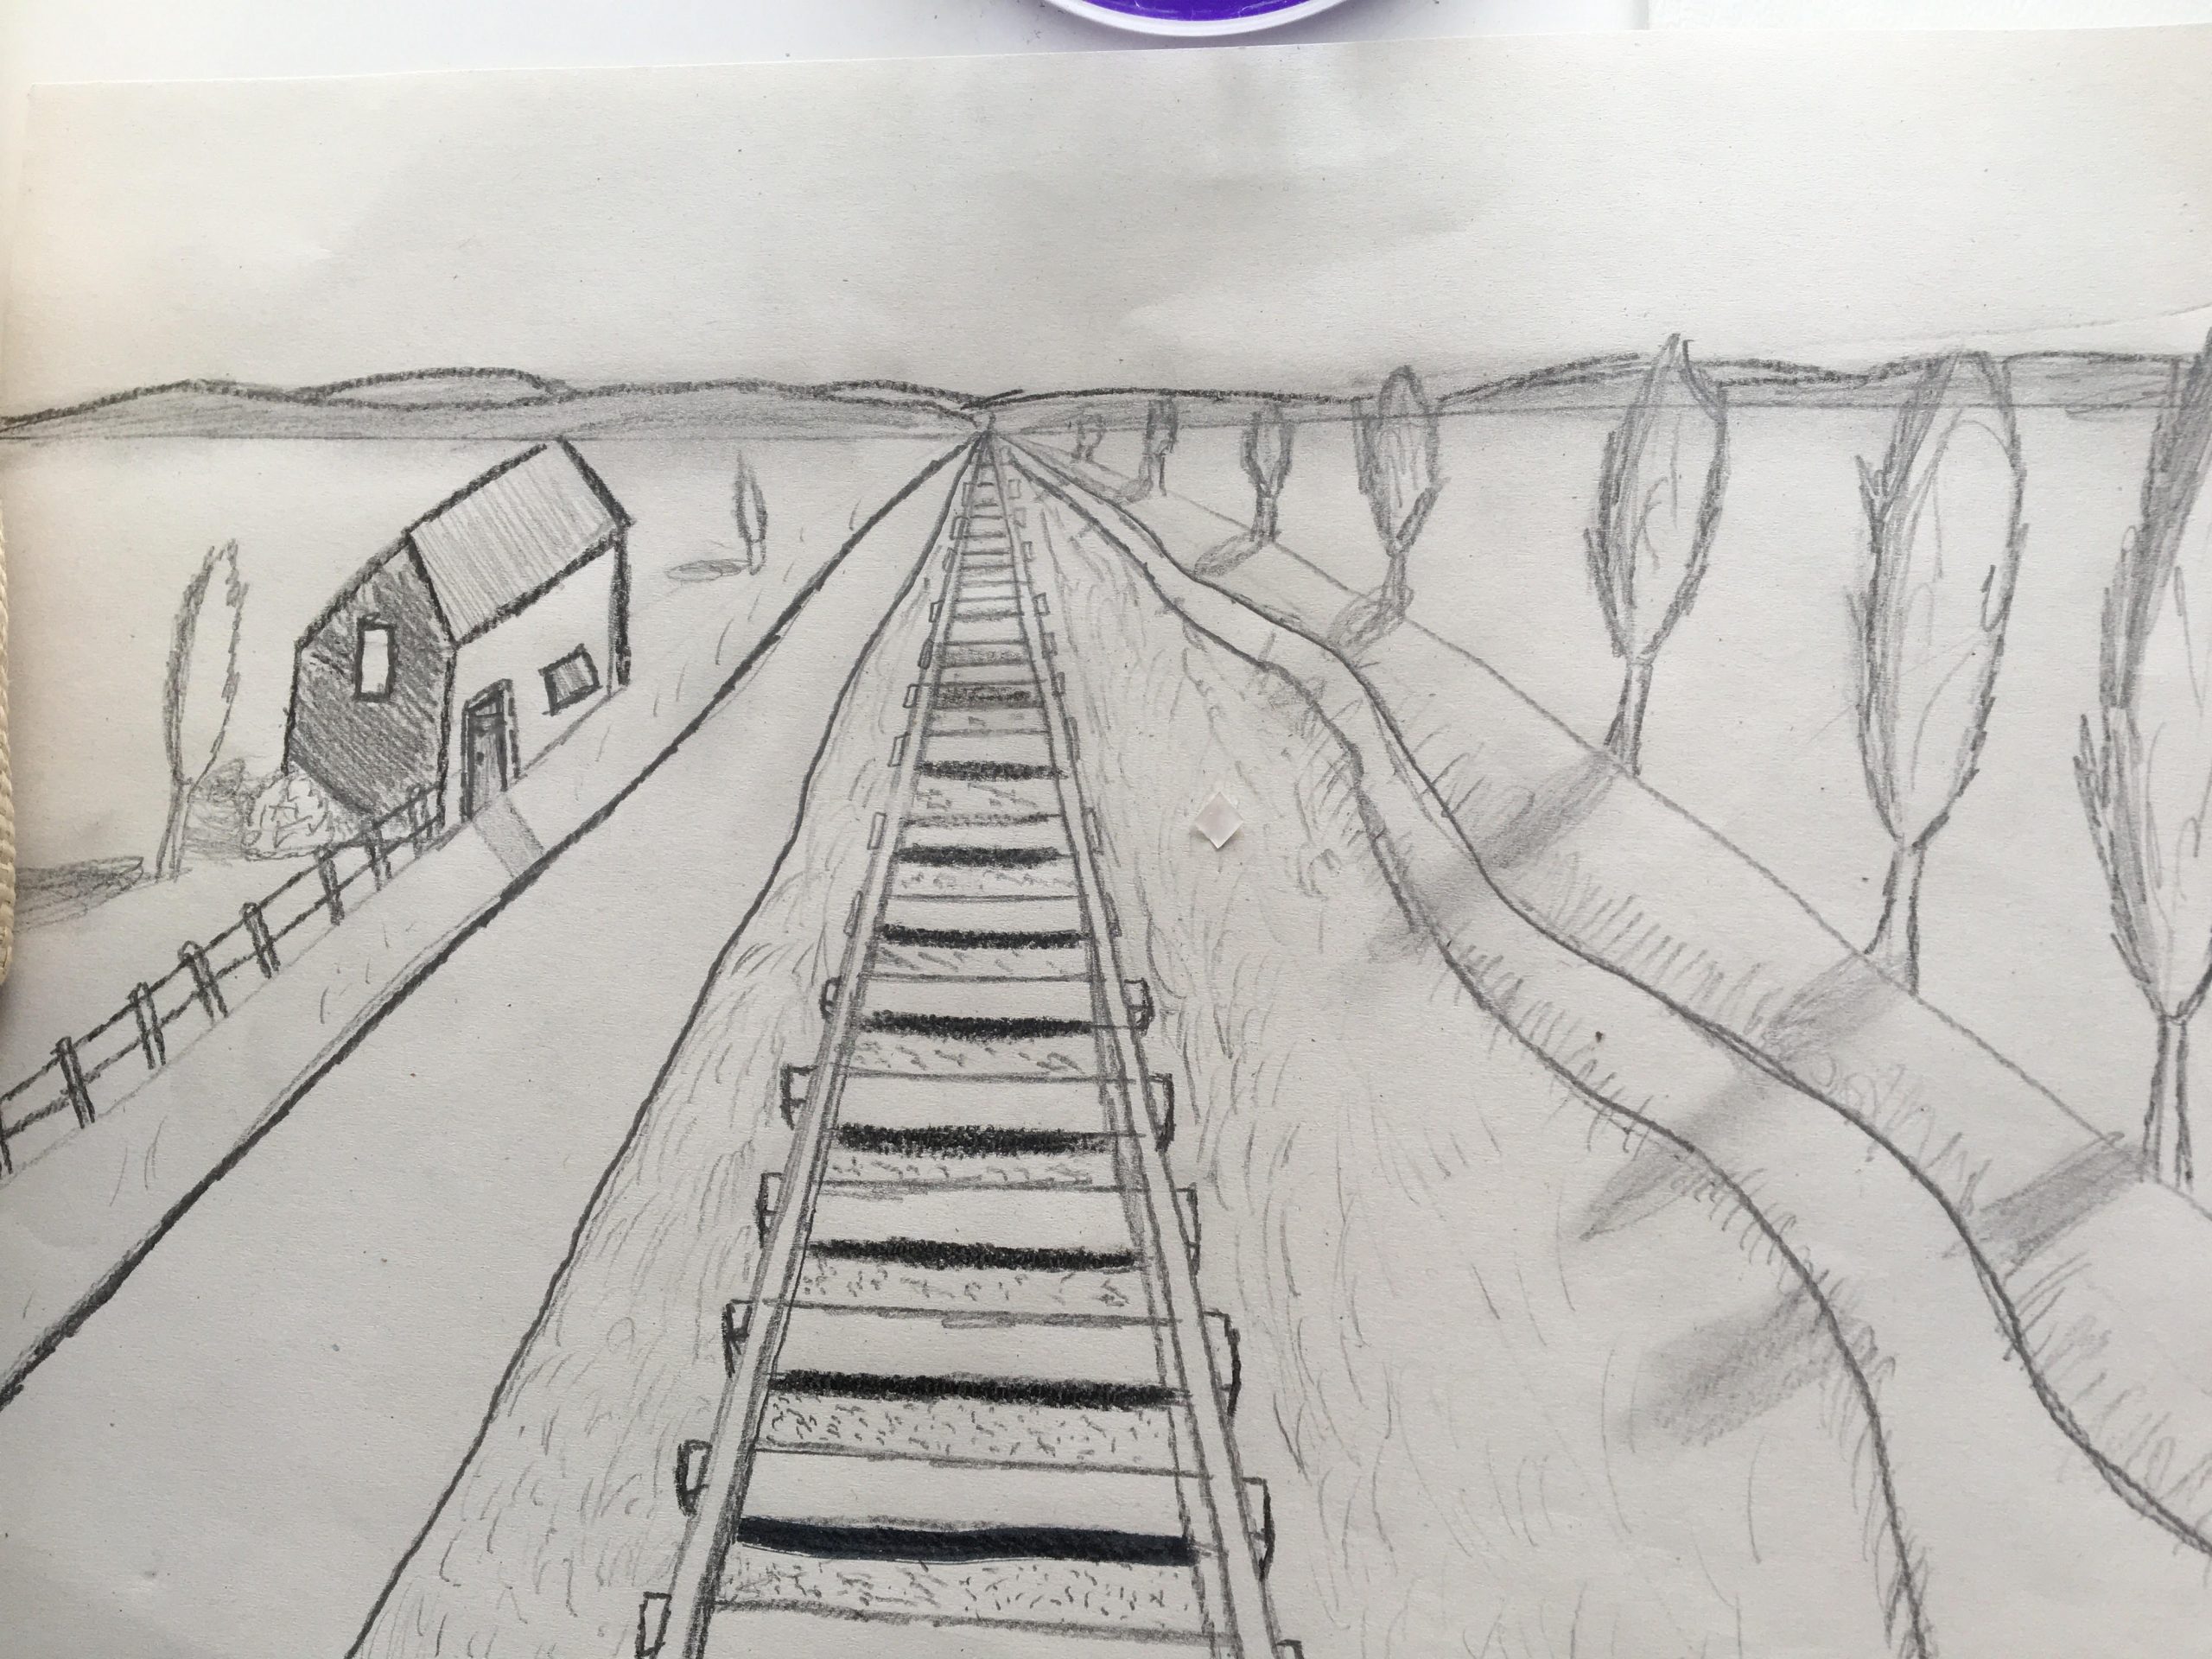
Again, the window on the side of the house next to the door should be drawn using perspective lines. Secondly, is the fence near the house supposed to be leaning over? The posts should have been drawn parallel to the left side of the paper.
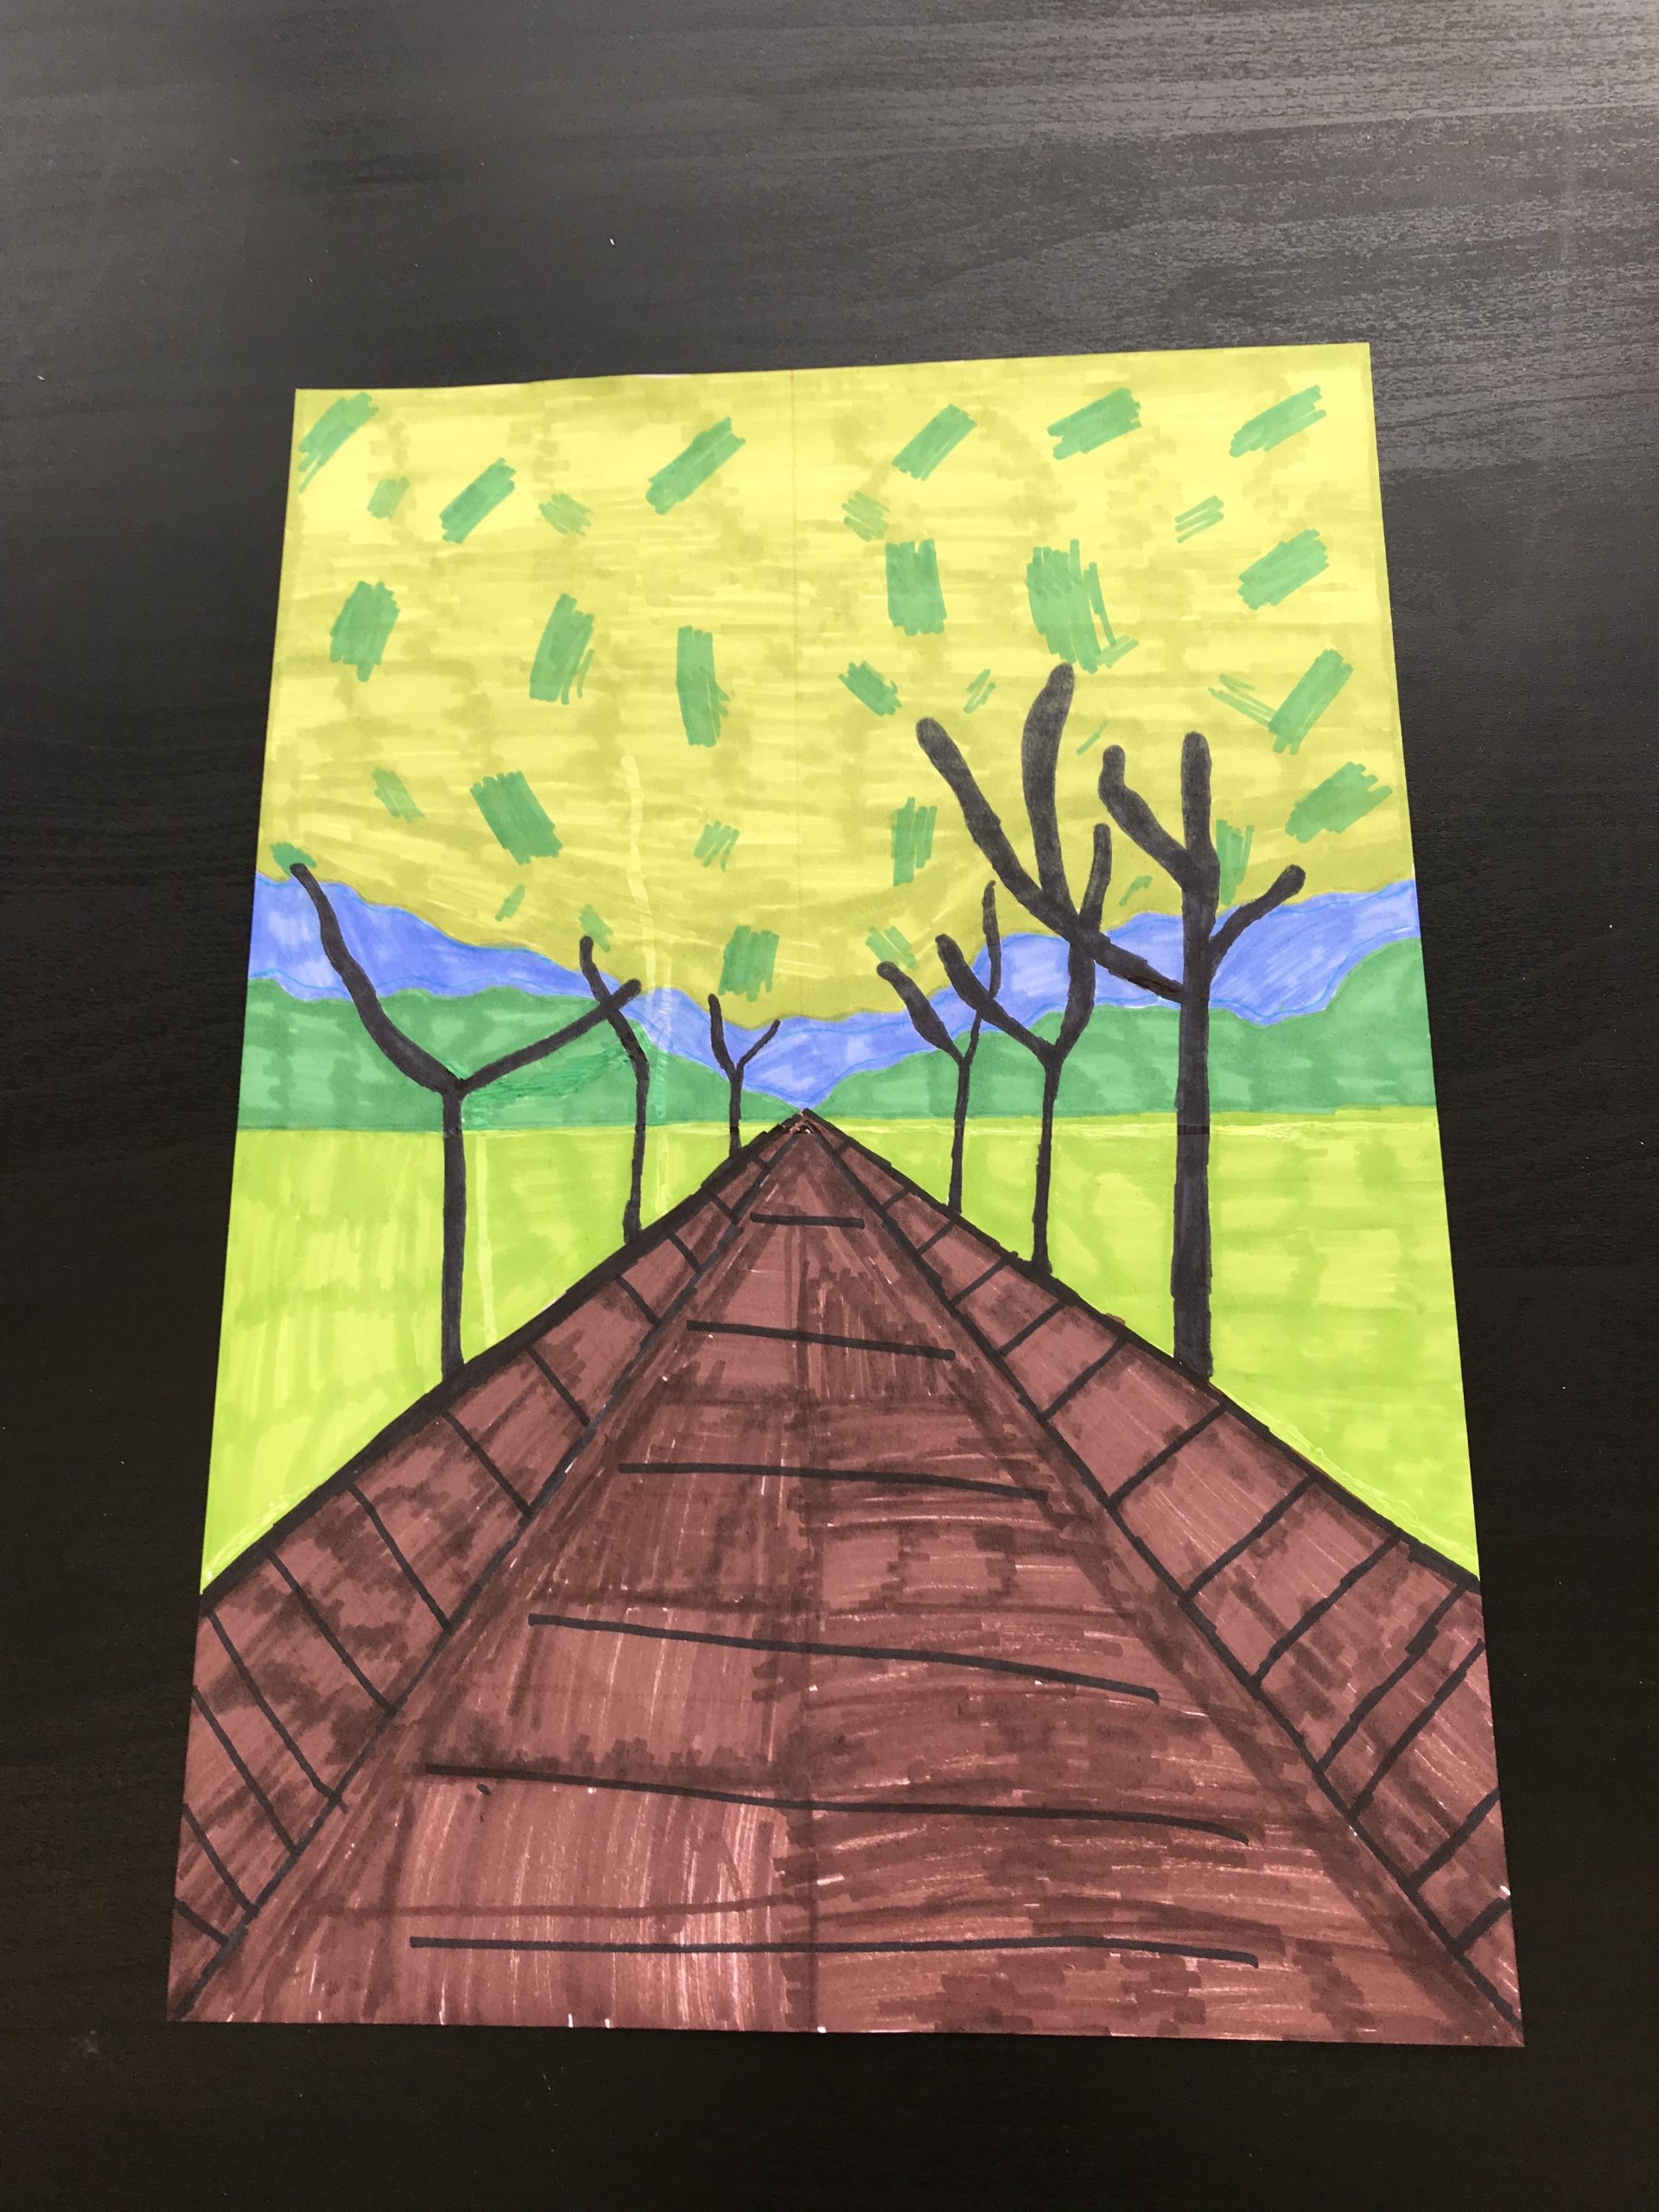
The lines to show the pavement on each side of the road should be parallel to the horizon. They should be drawn parallel to the bottom of the paper.
.
Today we are going to have another go at perspective drawing. This time we will draw the inside of a room.
.
Note that the artist draws his perspective lines freehand. He has had years of practice! YOU MUST USE A RULER.
.
.
Watch the next video and follow the steps to create your own drawing. You will need to keep stopping the video, so that you can create your drawing step-by-step.
Remember – use a ruler for all straight lines and especially for the perspective lines. Try to keep your perspective lines quite light – they will be less visible in the final drawing.
.
.
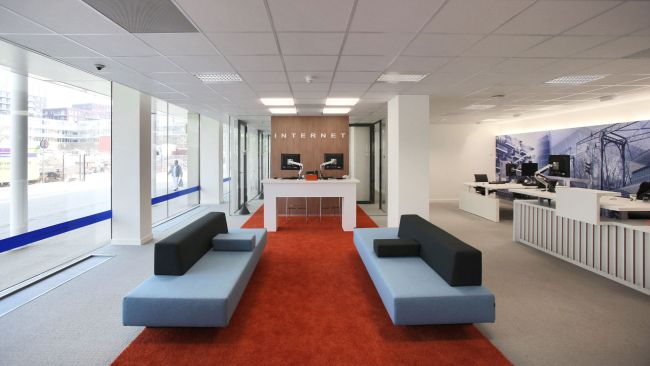
Challenge: If you have completed your drawing and want a challenge, try using your new skills to draw this room